tata photon in rhel5 tata photon in rhel5 tata photon in rhel5 tata photon in rhel5 tata photon in rhel5
I am a Linux Administrator, so I love to see things works inside linux, specially RHEL, my best flavor. Although I published articles for configuring BSNL EVDO in linux through linux for you, I still have many things to do for RHEL. I felt the need of Proper Configuration of Tata Photon Plus in RHEL5. I Purchased one connection and find a folder 'Linux' inside the Tata Photon dialer software. The 'wvdial' is not required in this configuration.
I am a Linux Administrator, so I love to see things works inside linux, specially RHEL, my best flavor. Although I published articles for configuring BSNL EVDO in linux through linux for you, I still have many things to do for RHEL. I felt the need of Proper Configuration of Tata Photon Plus in RHEL5. I Purchased one connection and find a folder 'Linux' inside the Tata Photon dialer software. The 'wvdial' is not required in this configuration.
You need to login in RHEL as root user ( Super User)
The steps are as below:
1. I insert the device in the usb port.
2. Copy the folder 'Linux' from my Thumb Drive to the desktop.
3. Double click the folder 'Linux' to view files.
4. Right Click inside the folder and start terminal.
5. Type the command : #./install
6. The command will install the driver in your kernel and ask you to input the path:
" Please input the install path[/usr/local/Tata_Photon+]:"
7. Type the path " /usr/local/Tata_Photon+ "
8. Installation finished.
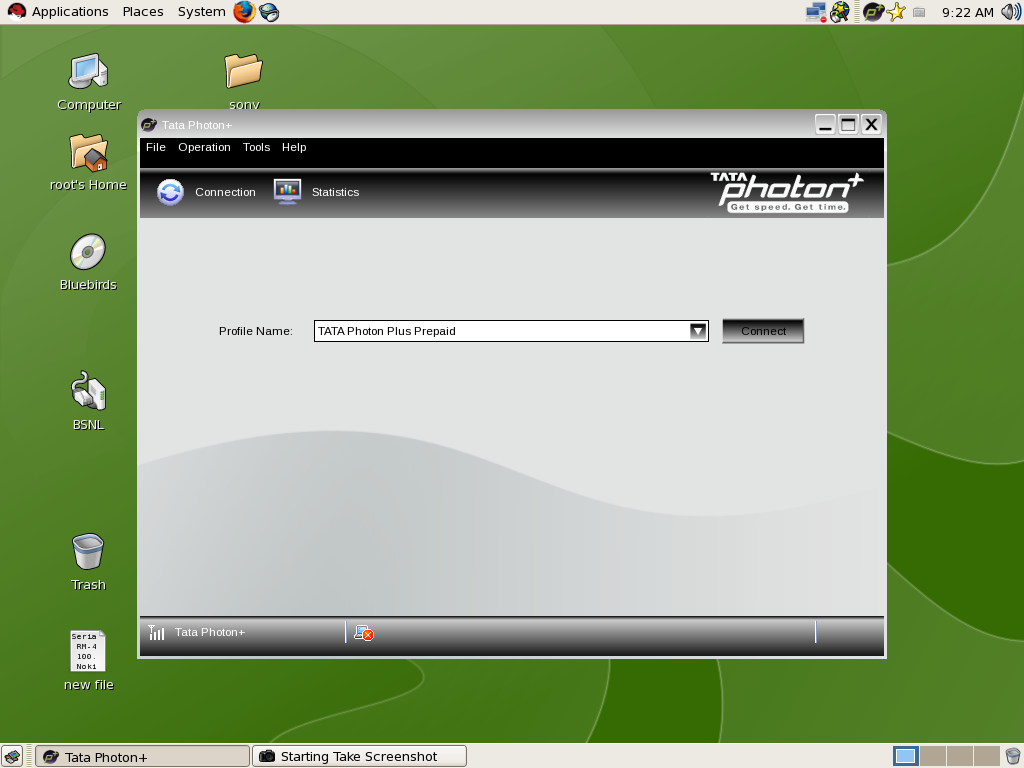
9. You will view the "Tata Photon Shortcut" in the desktop. Double Click to run.
10. Choose the option " Prepaid/Postpaid", and connect to enjoy.
Now you can click on Statistics to view detailed data in/out, usage details etc.
You will find a stable speed in comparison to windows as windows has many programs which run in the background to slow down your browsing speed and waste your bites. If you are using a prepaid connection, it is a best solution to save your valuable bites.
View some screenshot to maximize your confidence.